This page walks you through installing the Imunify sensor on one of your Linux servers. The whole flow takes about ten minutes the first time and about thirty seconds on every server after that.
Prerequisites#
Your server needs:
- Linux with kernel 5.4 or newer and BTF (BPF Type Format) support
- LSM BPF enabled in the running kernel
- Root (sudo) access
- Network access from your server to
panel.imunify.aiover HTTPS
To check your kernel version:
uname -r
To check that BTF is available:
ls /sys/kernel/btf/vmlinux
If that file exists, BTF is on. Most distributions with kernel 5.8 and later ship with BTF on by default.
To check that LSM BPF is on:
cat /sys/kernel/security/lsm
The output must include bpf, for example capability,bpf,landlock,yama,apparmor.
On Ubuntu 22.04 / 24.04 and Debian 12 the kernel supports LSM BPF but does not include bpf in the default boot configuration — you have to add it once. If bpf is missing from the line above, see Enable LSM BPF below before you run the installer. The installer refuses to proceed without LSM BPF.
Step 1: Get your install command#
You generate the install command yourself from the Panel — no need to wait on anyone.
- Sign in to the Panel at panel.imunify.ai with the username and password your administrator gave you.
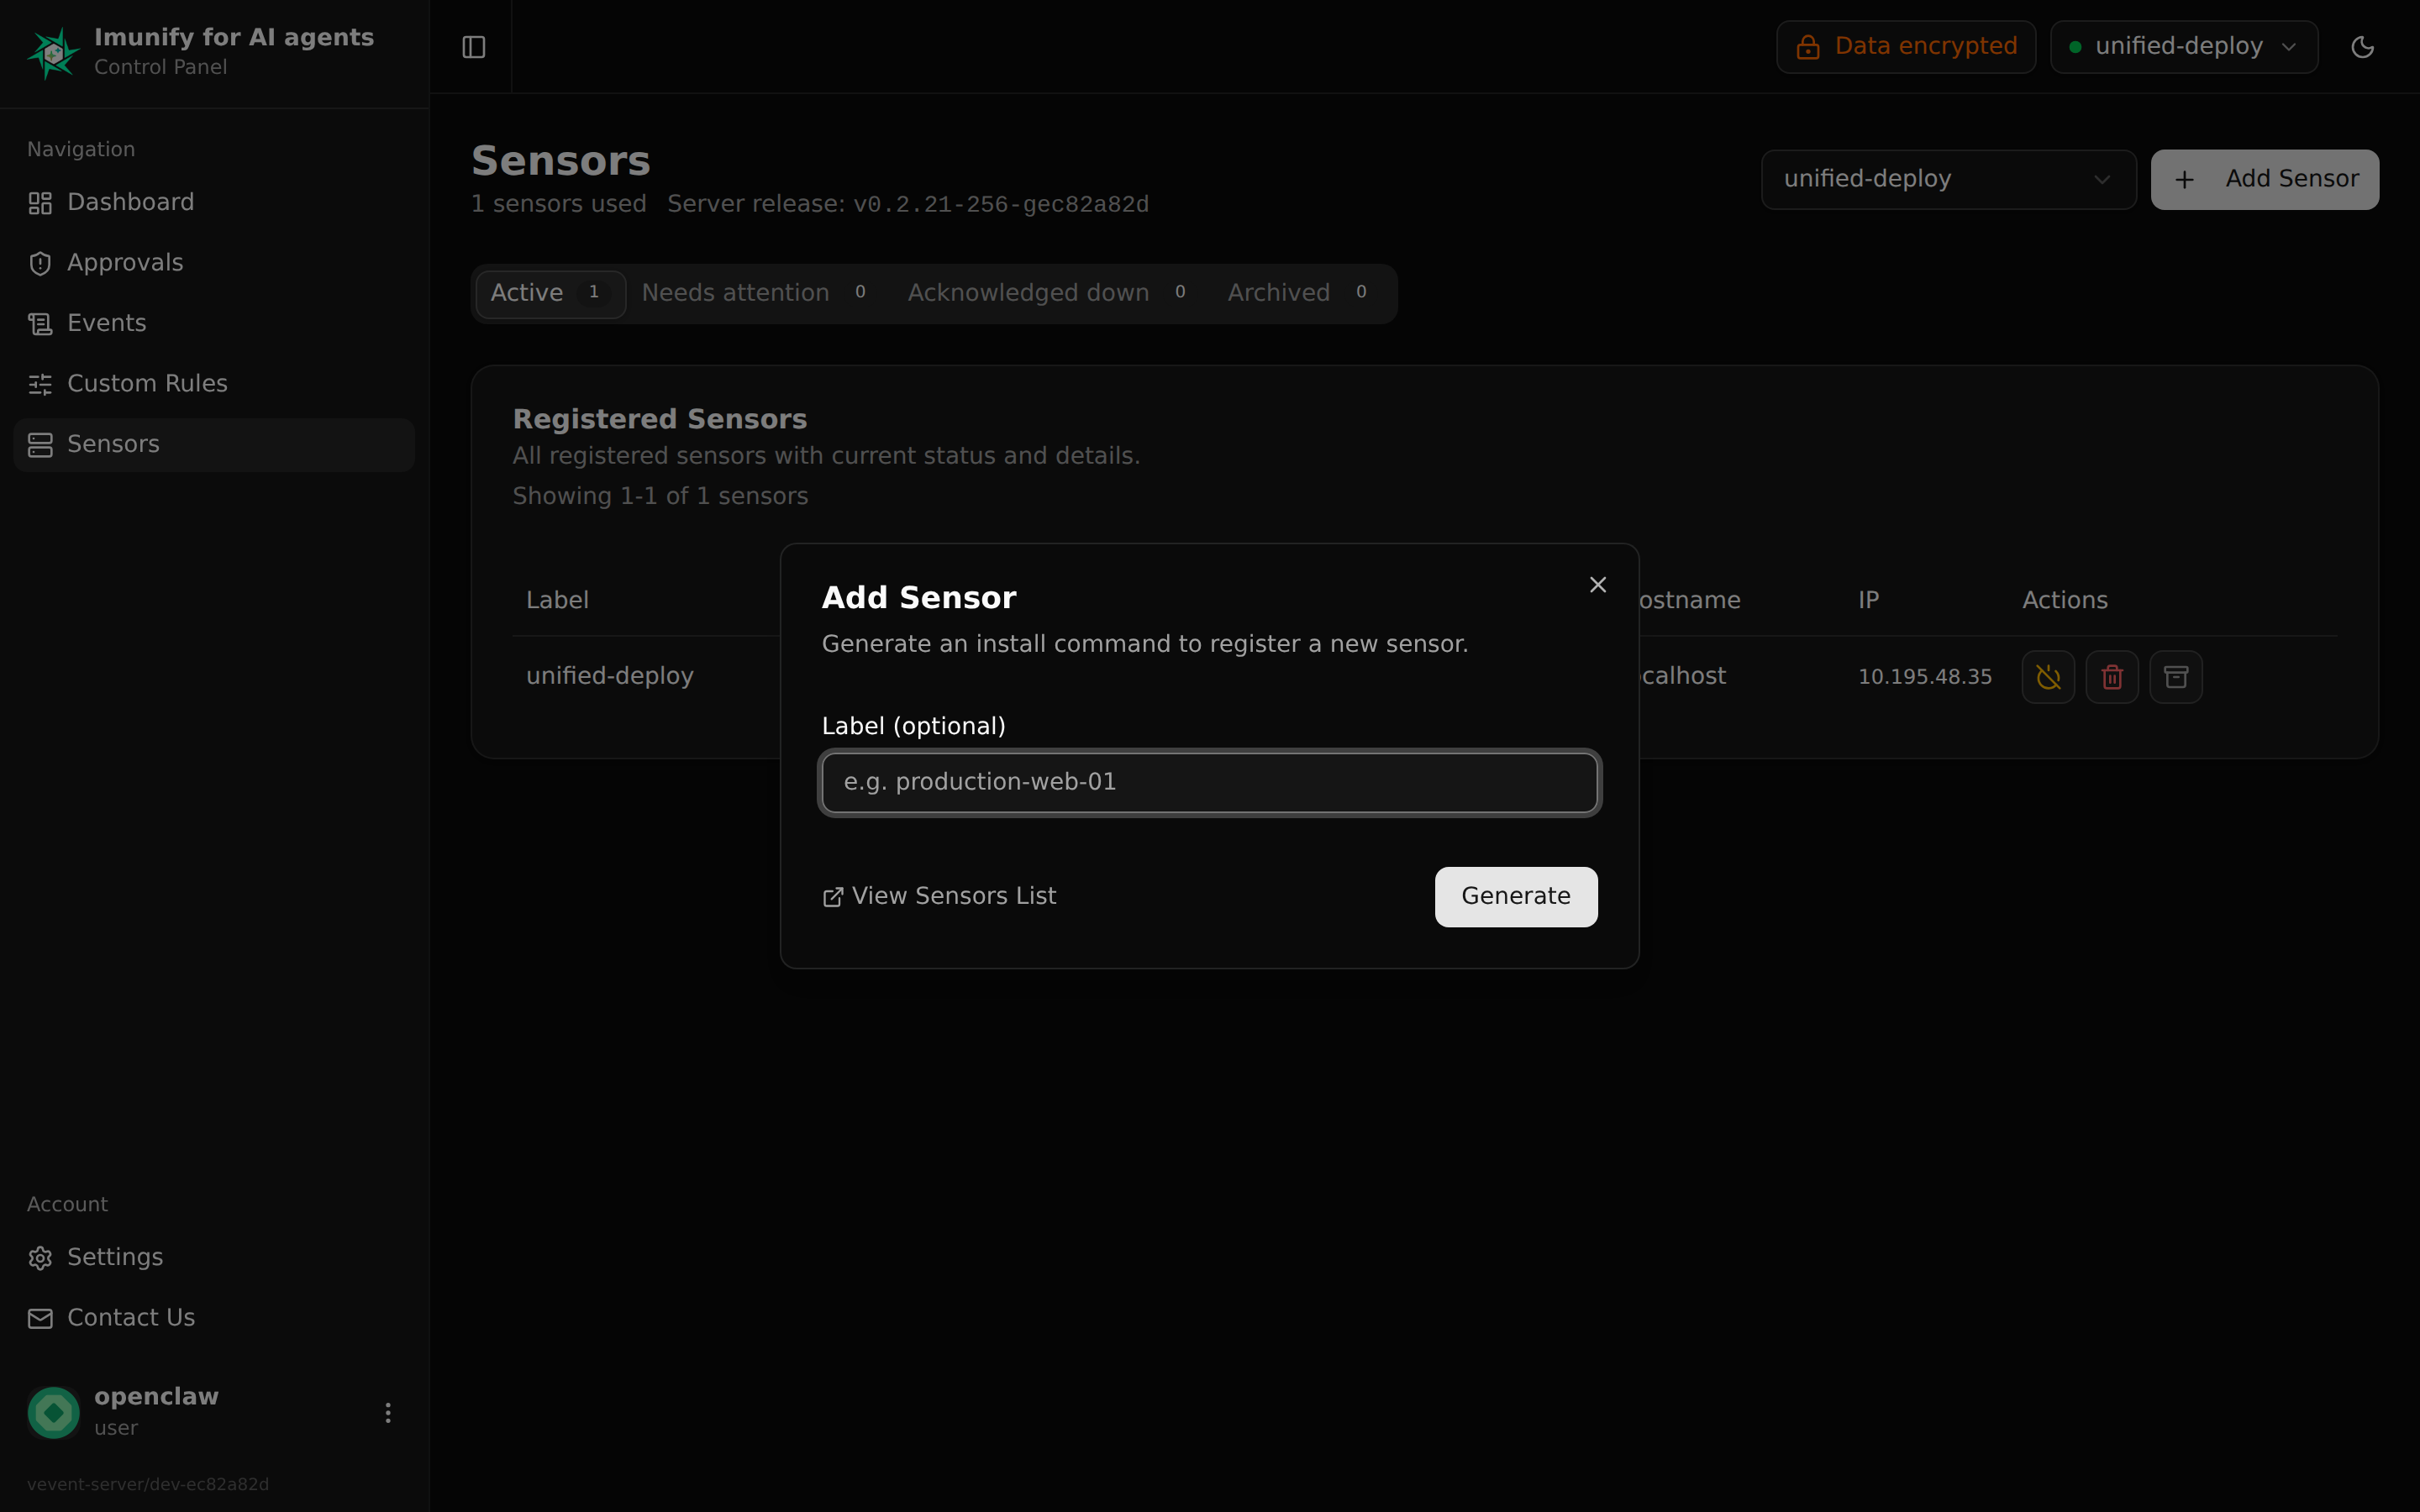
- Open the Add Sensor dialog. If you have no sensors yet, the Add Sensor button is right there in the header sensor selector; otherwise open it from the Sensors page.
- Optionally type a label for this host (for example
prod-web-01) so you can tell your sensors apart later. You can leave it blank. - Click Generate. The Panel mints a fresh install token and shows you a one-line command with a copy button. Click the copy icon.
The command looks like this:
curl -fsSL https://panel.imunify.ai/api/v1/install/inst_<auto-generated deployment id>.sh | bash
The token embedded in it is single-use and expires after 24 hours. If it expires or has already been used, just open Add Sensor again and generate a new one. (If you have hit your sensor limit, free a slot by deleting an unused sensor on the Sensors page, or ask your administrator to raise the cap.)
Step 2: Run the installer#
SSH into the server you want to protect, as root (or a sudo user), and paste the command you copied:
ssh root@your-server
curl -fsSL https://panel.imunify.ai/api/v1/install/inst_<auto-generated deployment id>.sh | bash
The installer will:
- Run preflight checks (root access, Linux, kernel version, BTF support, systemd)
- Download the sensor binary that matches your CPU architecture
- Write the sensor configuration and your sensor’s API credentials
- Download your active policy rules
- Install and start the sensor as a system service
- Install the sensor’s self-upgrade machinery so future updates land automatically
The whole process takes about thirty seconds. You will see one status line per step as it completes.
Step 3: Link Telegram (optional)#
By default approval requests show up in the Panel itself. If you would rather get them on your phone, link Telegram or Discord from Settings → Notifications in the Panel: pick a channel, scan the QR code (or open the deep link), and approve right from the chat with Allow/Deny buttons. This is self-service — you do not need an administrator to set it up. See Notifications for the details. You can skip this and do it later.
Step 4: Confirm the sensor is running#
The easiest check is the Panel itself: open the Sensors page and your newly installed host appears with a green RUNNING status, and its capability pills (LSM BPF, fanotify, seccomp-notify) turn green within a heartbeat or two. That means the sensor reached the server, registered, and is enforcing policy.
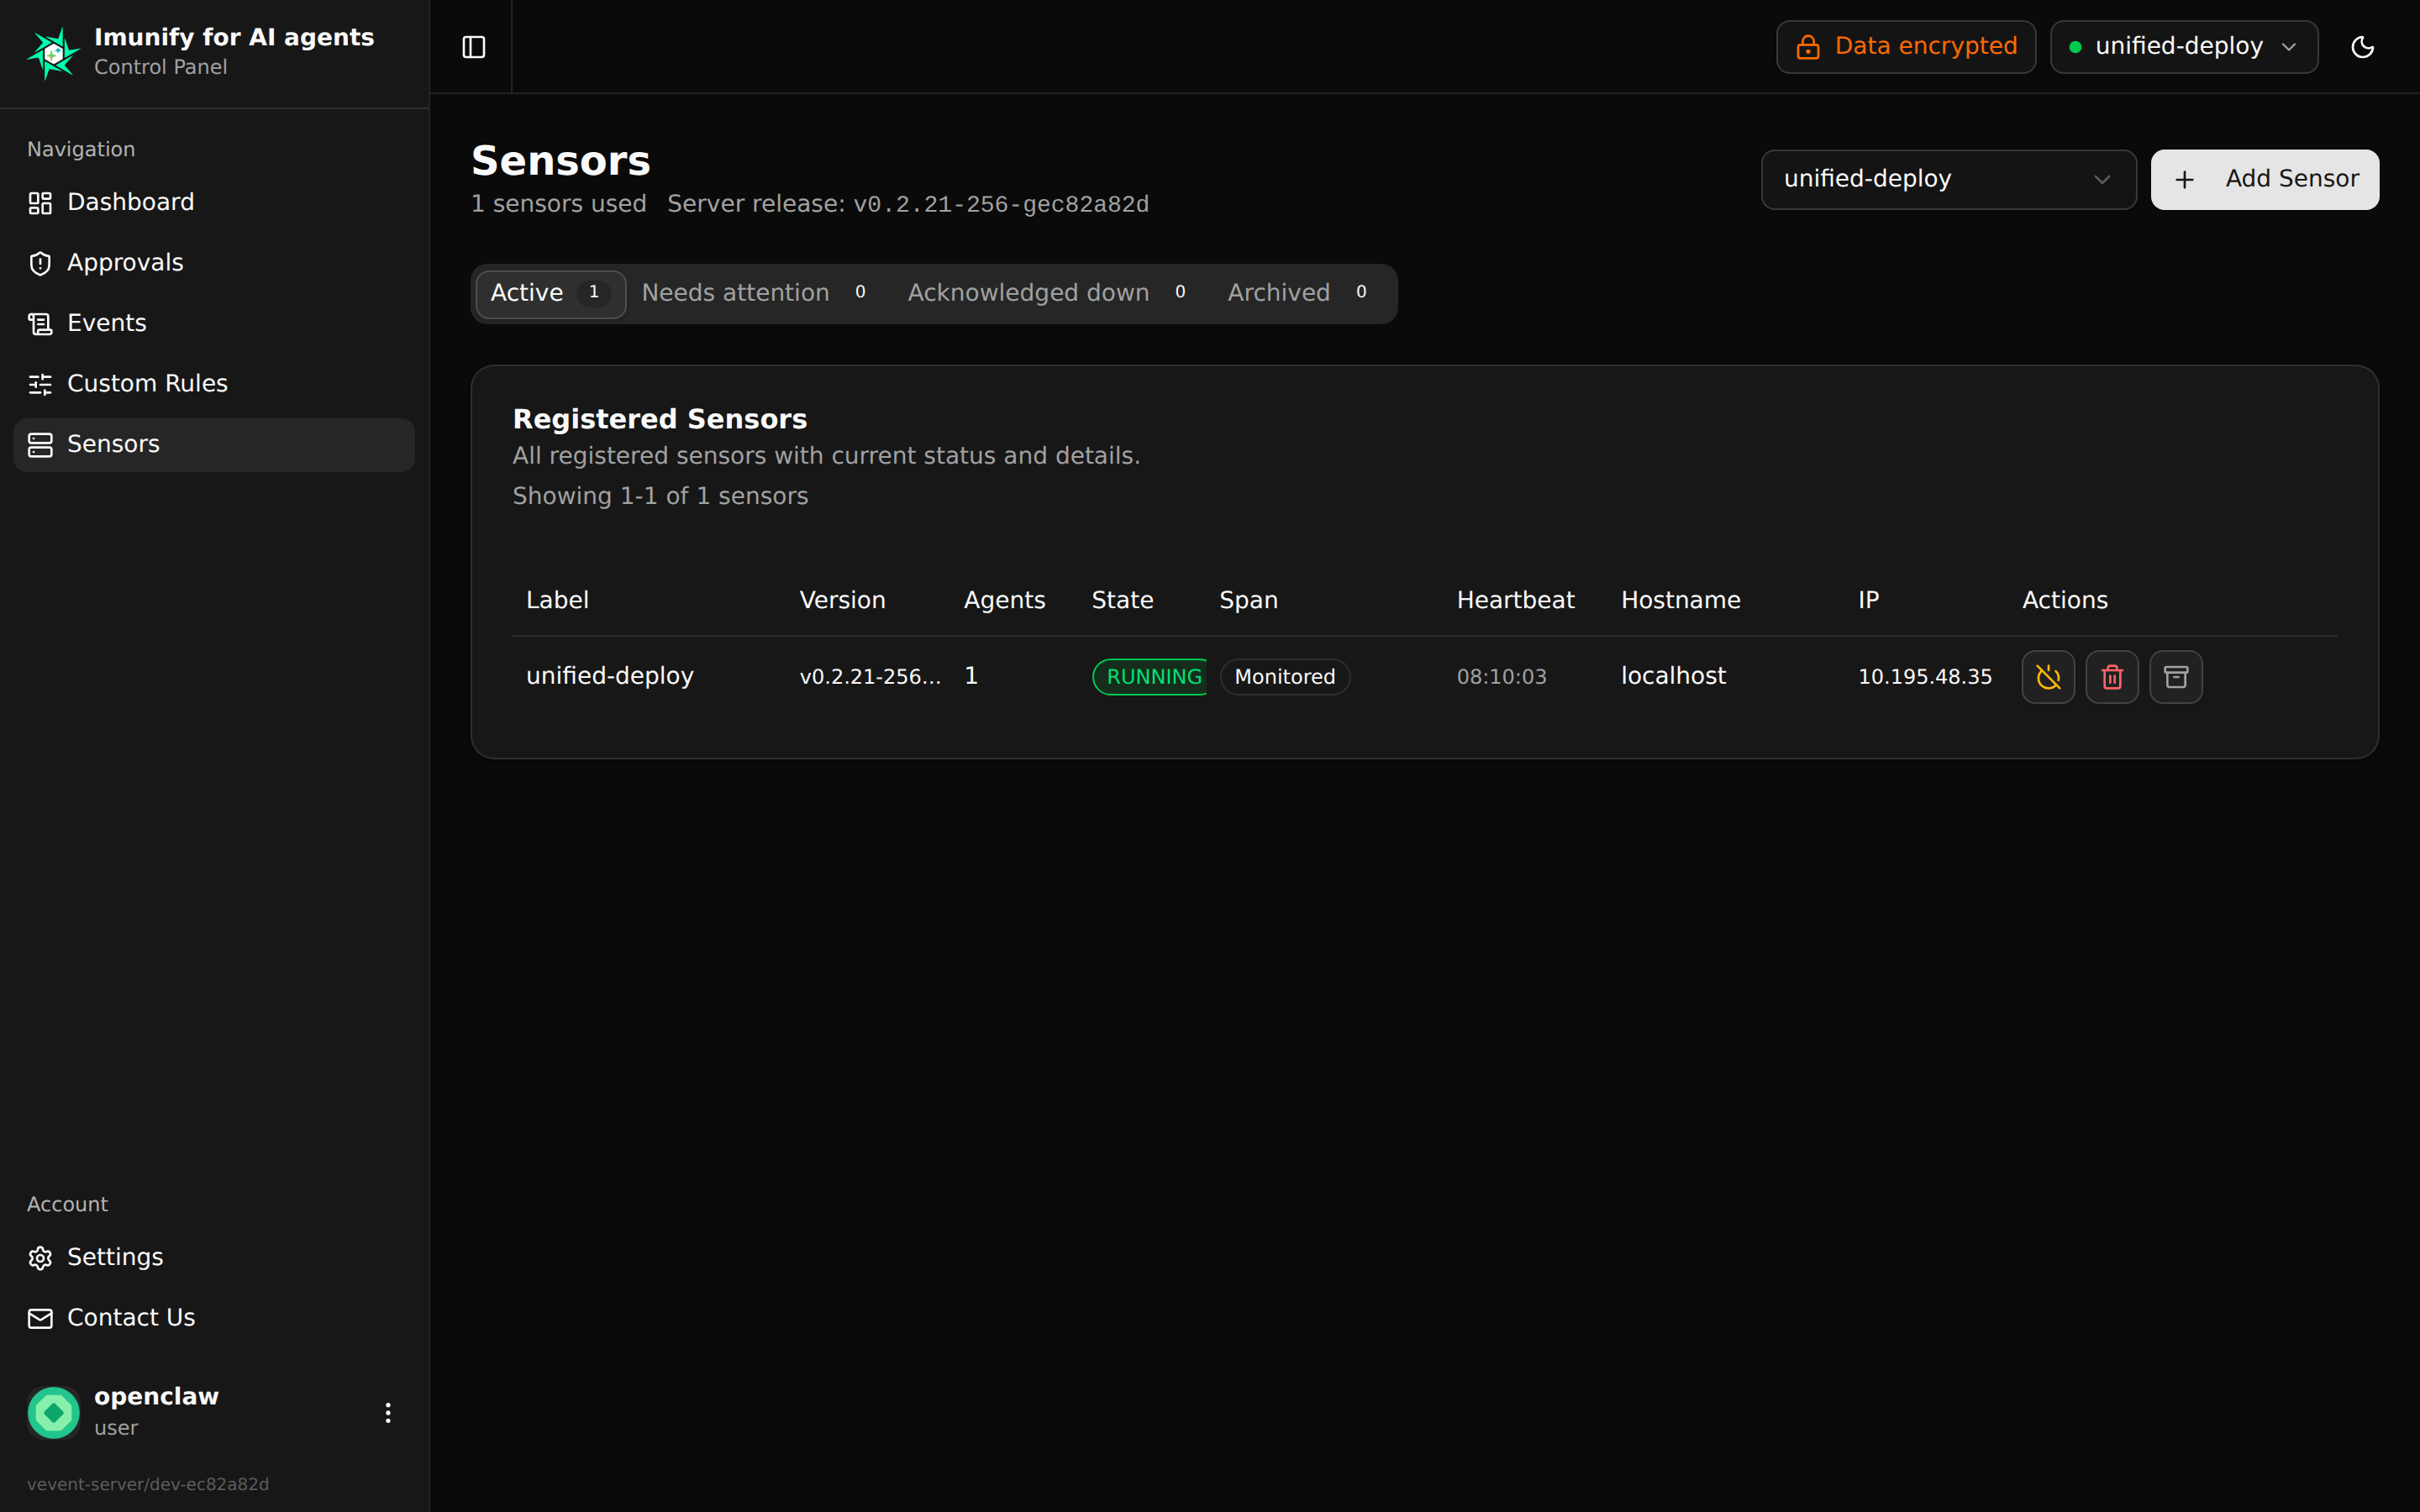
If you would rather confirm from the host’s shell, two commands do it:
systemctl status imunifyai-sensor                                  # expect: active (running)
journalctl -u imunifyai-sensor --since "2 min ago" | grep Registered   # a "Registered" line = connected
If something looks wrong, head to Troubleshooting — the most common first-install issue is LSM BPF, covered next.
Enable LSM BPF#
If the installer (or the sensor itself after a later upgrade) fails with LSM BPF is not active in the running kernel, or your Panel shows a red LSM BPF pill on your sensor’s row, your kernel supports LSM BPF but it is not switched on in the boot parameters. This is a one-time fix and needs a reboot.
# 1. Confirm the kernel supports LSM BPF:
grep CONFIG_BPF_LSM /boot/config-$(uname -r)
# Expected: CONFIG_BPF_LSM=y

# 2. Add 'bpf' to the lsm= list in /etc/default/grub.
#    Edit the GRUB_CMDLINE_LINUX line so it reads, for example:
#    GRUB_CMDLINE_LINUX="... lsm=lockdown,yama,apparmor,bpf"
sudo vi /etc/default/grub

# 3. Regenerate the GRUB config:
sudo update-grub                                # Debian / Ubuntu
# or:
sudo grub2-mkconfig -o /boot/grub2/grub.cfg     # RHEL / Rocky / Alma

# 4. Reboot:
sudo reboot

# 5. After reboot, confirm 'bpf' is now in the LSM list:
cat /sys/kernel/security/lsm    # must contain 'bpf'

# 6. If the sensor was already installed, restart it:
sudo systemctl restart imunifyai-sensor
The Panel’s LSM BPF pill turns green on the next heartbeat from your sensor.
If the installer instead reports Kernel does not support LSM BPF (CONFIG_BPF_LSM is not set), your kernel is too old or was not built with LSM BPF. Install a newer kernel and reboot into it:
- Ubuntu:
sudo apt-get install -y linux-generic-hwe-$(lsb_release -rs) - Debian:
sudo apt-get install -y linux-image-amd64(bookworm or newer) - RHEL / Rocky / Alma:
sudo dnf install -y kernel-modules-core kernel
What happens next#
Once the sensor is running, it starts intercepting system calls on your server and evaluating them against your policy rules. See Your first event for what to expect the first time the sensor catches something, and Tour the Panel for a quick orientation to the Panel UI.